Dynamic OG images using Satori and Astro Server Endpoints
Generating Open Graph images would usually require a separate service or a server with a headless browser that renders the layout HTML template (after loading custom fonts, images etc) and generate a PNG image of the page which would then be sent to the client. This solution is inherently very slow and resource intensive.
To solve this problem Vercel has launched a package called
@vercel/og
that works seamlessly with Next.js and Vercel Edge Functions. Internally it uses
another package by vercel called satori
that converts HTML and CSS into SVG and the best part about it is it supports
JSX, TailwindCSS and custom fonts out of the box.
We can use this package in our
Astro Server Endpoints
to generate Dynamic Open Graph Images. But Satori expects JSX as input and since
we cannot directly write JSX in our Astro Server Endpoints we’ll use a package
called satori-html by Nate Moore
that basically helps us write html in template strings and gives back Satori
compatible VNode that can be passed directly to Satori and generate our Open
Graph image as SVG.
Initial Setup
Let’s add satori and satori-html to our Astro Project.
npm install satori satori-htmlI’ll create an index.og.ts file that corresponds to Astro Server API endpoint
/index.og in the Source Root Directory.
Generate Open Graph SVG
Let’s create a Astro Server Endpoint GET route in the index.og.ts file that
would eventually return our dynamic open graph image.
import type { APIContext } from "astro";

export async function GET({ params }: APIContext) {}
Now lets use write our html with inline-styles that would become the Open Graph
image and pass it to satori-html.
import type { APIContext } from "astro";
import { html } from "satori-html";

export async function GET({ params }: APIContext) {
  const markup = html(`
  <div
    style="height: 100%; width: 100%; display: flex; flex-direction: column; align-items: center; justify-content: center; background-color: rgb(45,26,84); font-size: 32px; font-weight: 600;"
  >
    <div
      style="font-size: 70px; margin-top: 38px; display: flex; flex-direction: column; color: white;"
    >
      <span
        >Hello from
        <span style="margin-left:15ch;color: rgb(255,93,1);"
          >Astro</span
        ></span
      >
    </div>
  </div>`);
};
I have a custom font file saved in /public/fonts/ directory. We’ll use
readFileSync method from standard Node.js API to load the custom font file and
generate our SVG using satori.
import type { APIContext } from "astro";
import { html } from "satori-html";
import { readFileSync } from "fs";

export async function GET({ params }: APIContext) {
  const markup = html(`
  <div
    style="height: 100%; width: 100%; display: flex; flex-direction: column; align-items: center; justify-content: center; background-color: rgb(45,26,84); font-size: 32px; font-weight: 600;"
  >
    <div
      style="font-size: 70px; margin-top: 38px; display: flex; flex-direction: column; color: white;"
    >
      <span
        >Hello from
        <span style="margin-left:15ch;color: rgb(255,93,1);"
          >Astro</span
        ></span
      >
    </div>
  </div>`);

  const fontFilePath = `${process.cwd()}/public/fonts/Optimistic_Display_Bold.ttf`;

  const fontFile = readFileSync(fontFilePath);

  const svg = await satori(markup, {
    width: 1200,
    height: 630,
    fonts: [
      {
        name: "Optimistic Display",
        data: fontFile,
        style: "normal",
      },
    ],
  });
};
Let’s test if this works by returning the resulting svg from satori as text
Response from our
GET API route.
import type { APIContext } from "astro";
import { html } from "satori-html";
import { readFileSync } from "fs";
import satori from "satori";
export async function GET({ params }: APIContext) {
const markup = html(`
<div
style="height: 100%; width: 100%; display: flex; flex-direction: column; align-items: center; justify-content: center; background-color: rgb(45,26,84); font-size: 32px; font-weight: 600;"
>
<div
style="font-size: 70px; margin-top: 38px; display: flex; flex-direction: column; color: white;"
>
<span
>Hello from
<span style="margin-left:15ch;color: rgb(255,93,1);"
>Astro</span
></span
>
</div>
</div>`);
const fontFilePath = `${process.cwd()}/public/fonts/Optimistic_Display_Bold.ttf`;
const fontFile = readFileSync(fontFilePath);
// resulting svg is basically a long string
const svg: string = await satori(markup, {
width: 1200,
height: 630,
fonts: [
{
name: "Optimistic Display",
data: fontFile,
style: "normal",
},
],
});
return new Response(svg, {
status: 200,
headers: {
"Content-Type": "text/plain",
},
});
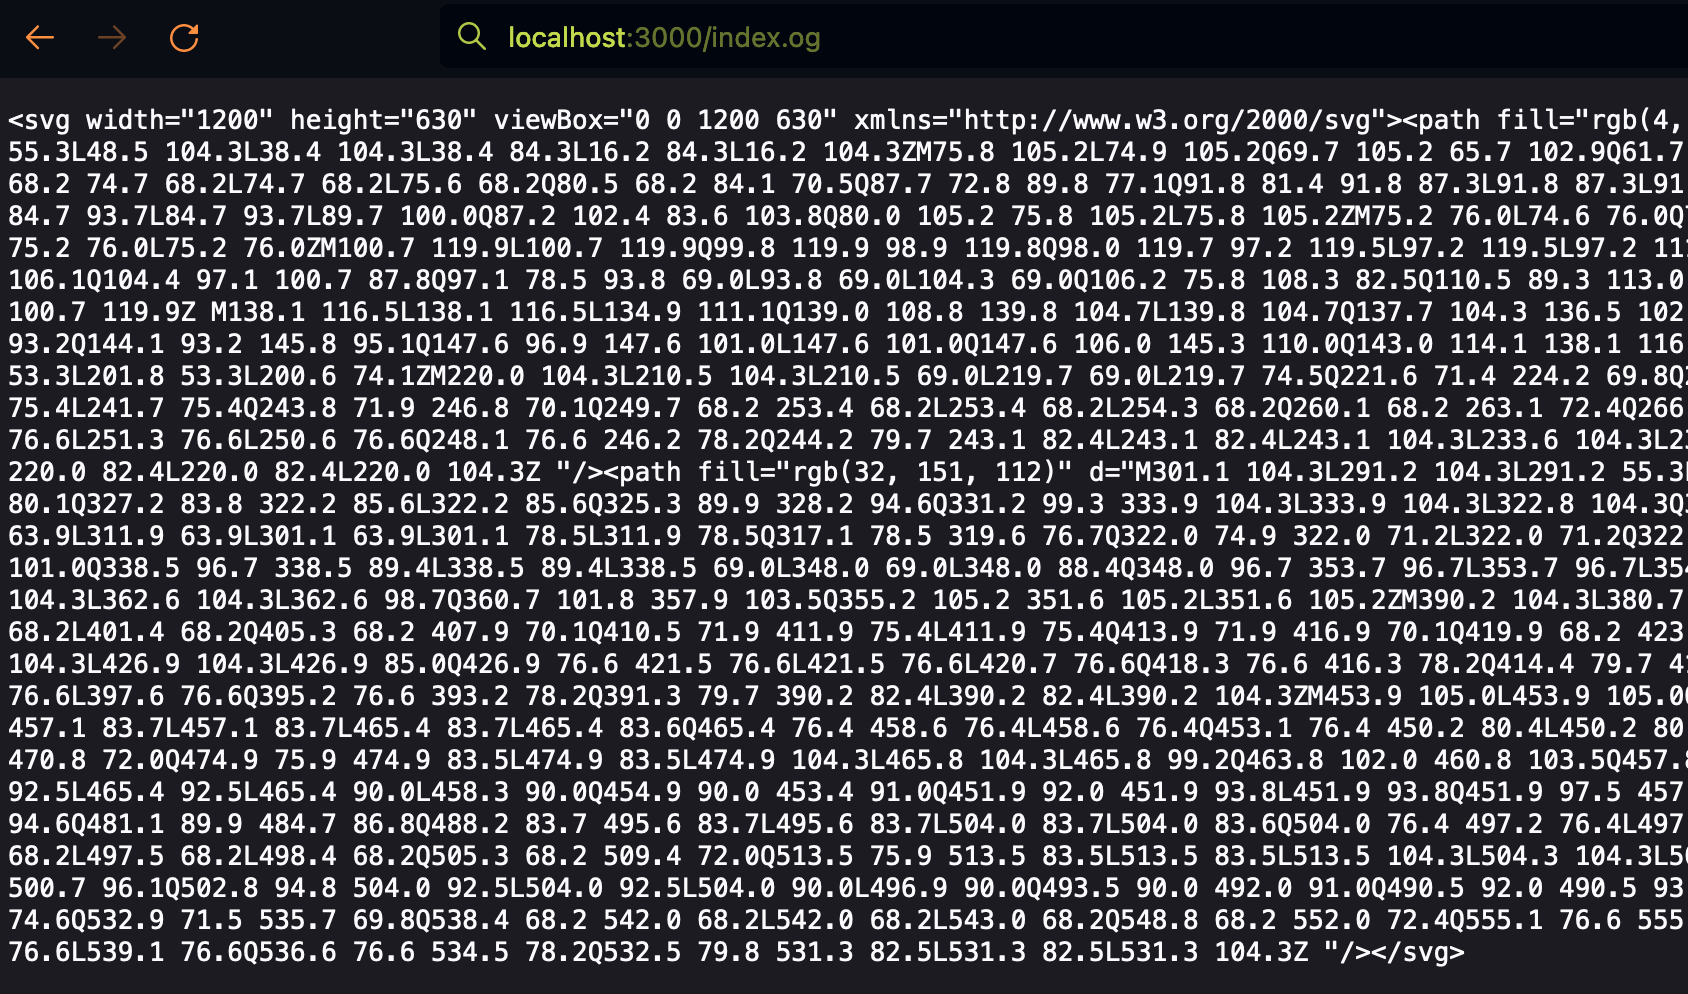
};Visit /index.og route in the browser we get SVG as a plain text
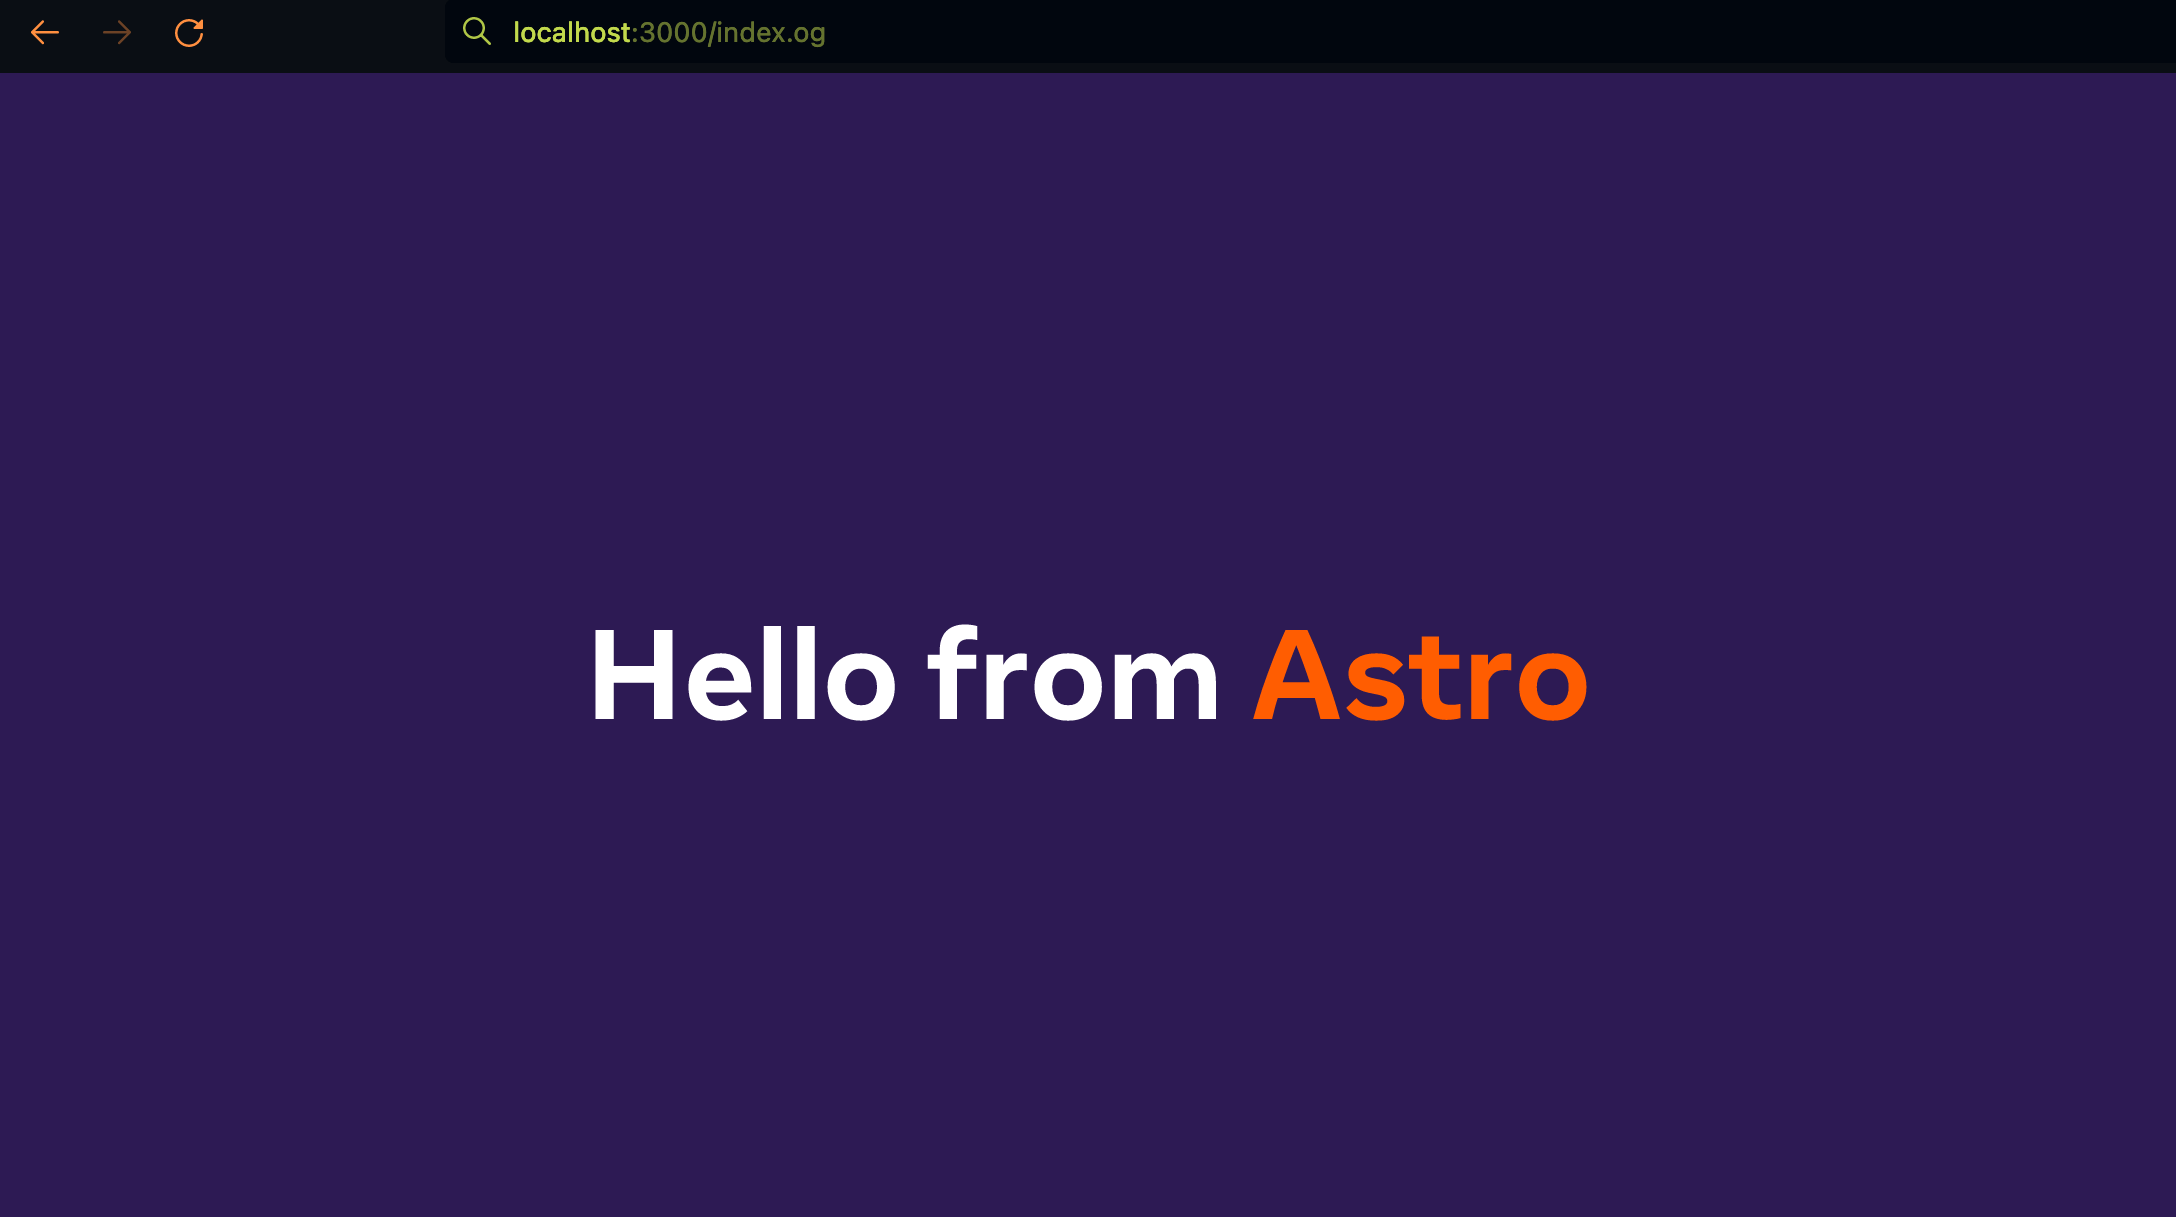
Changing the Content-Type to "image/svg+xml" should let the browser know the
response is of type svg and will render it instead of showing it as text.
Create PNG from SVG
To convert SVG into a PNG file we can use
sharp library.
npm install sharp
npm install -D @types/sharp
import sharp from "sharp";
export async function GET({ params }: APIContext) {
// ...
const png = sharp(Buffer.from(svg)).png();
const response = await png.toBuffer();
};Set the Content-Type to image/png and return the response
import sharp from "sharp";
export async function GET({ params }: APIContext) {
// ...
const png = sharp(Buffer.from(svg)).png();
const response = await png.toBuffer();
return new Response(response, {
status: 200,
headers: {
"Content-Type": "image/png",
},
});
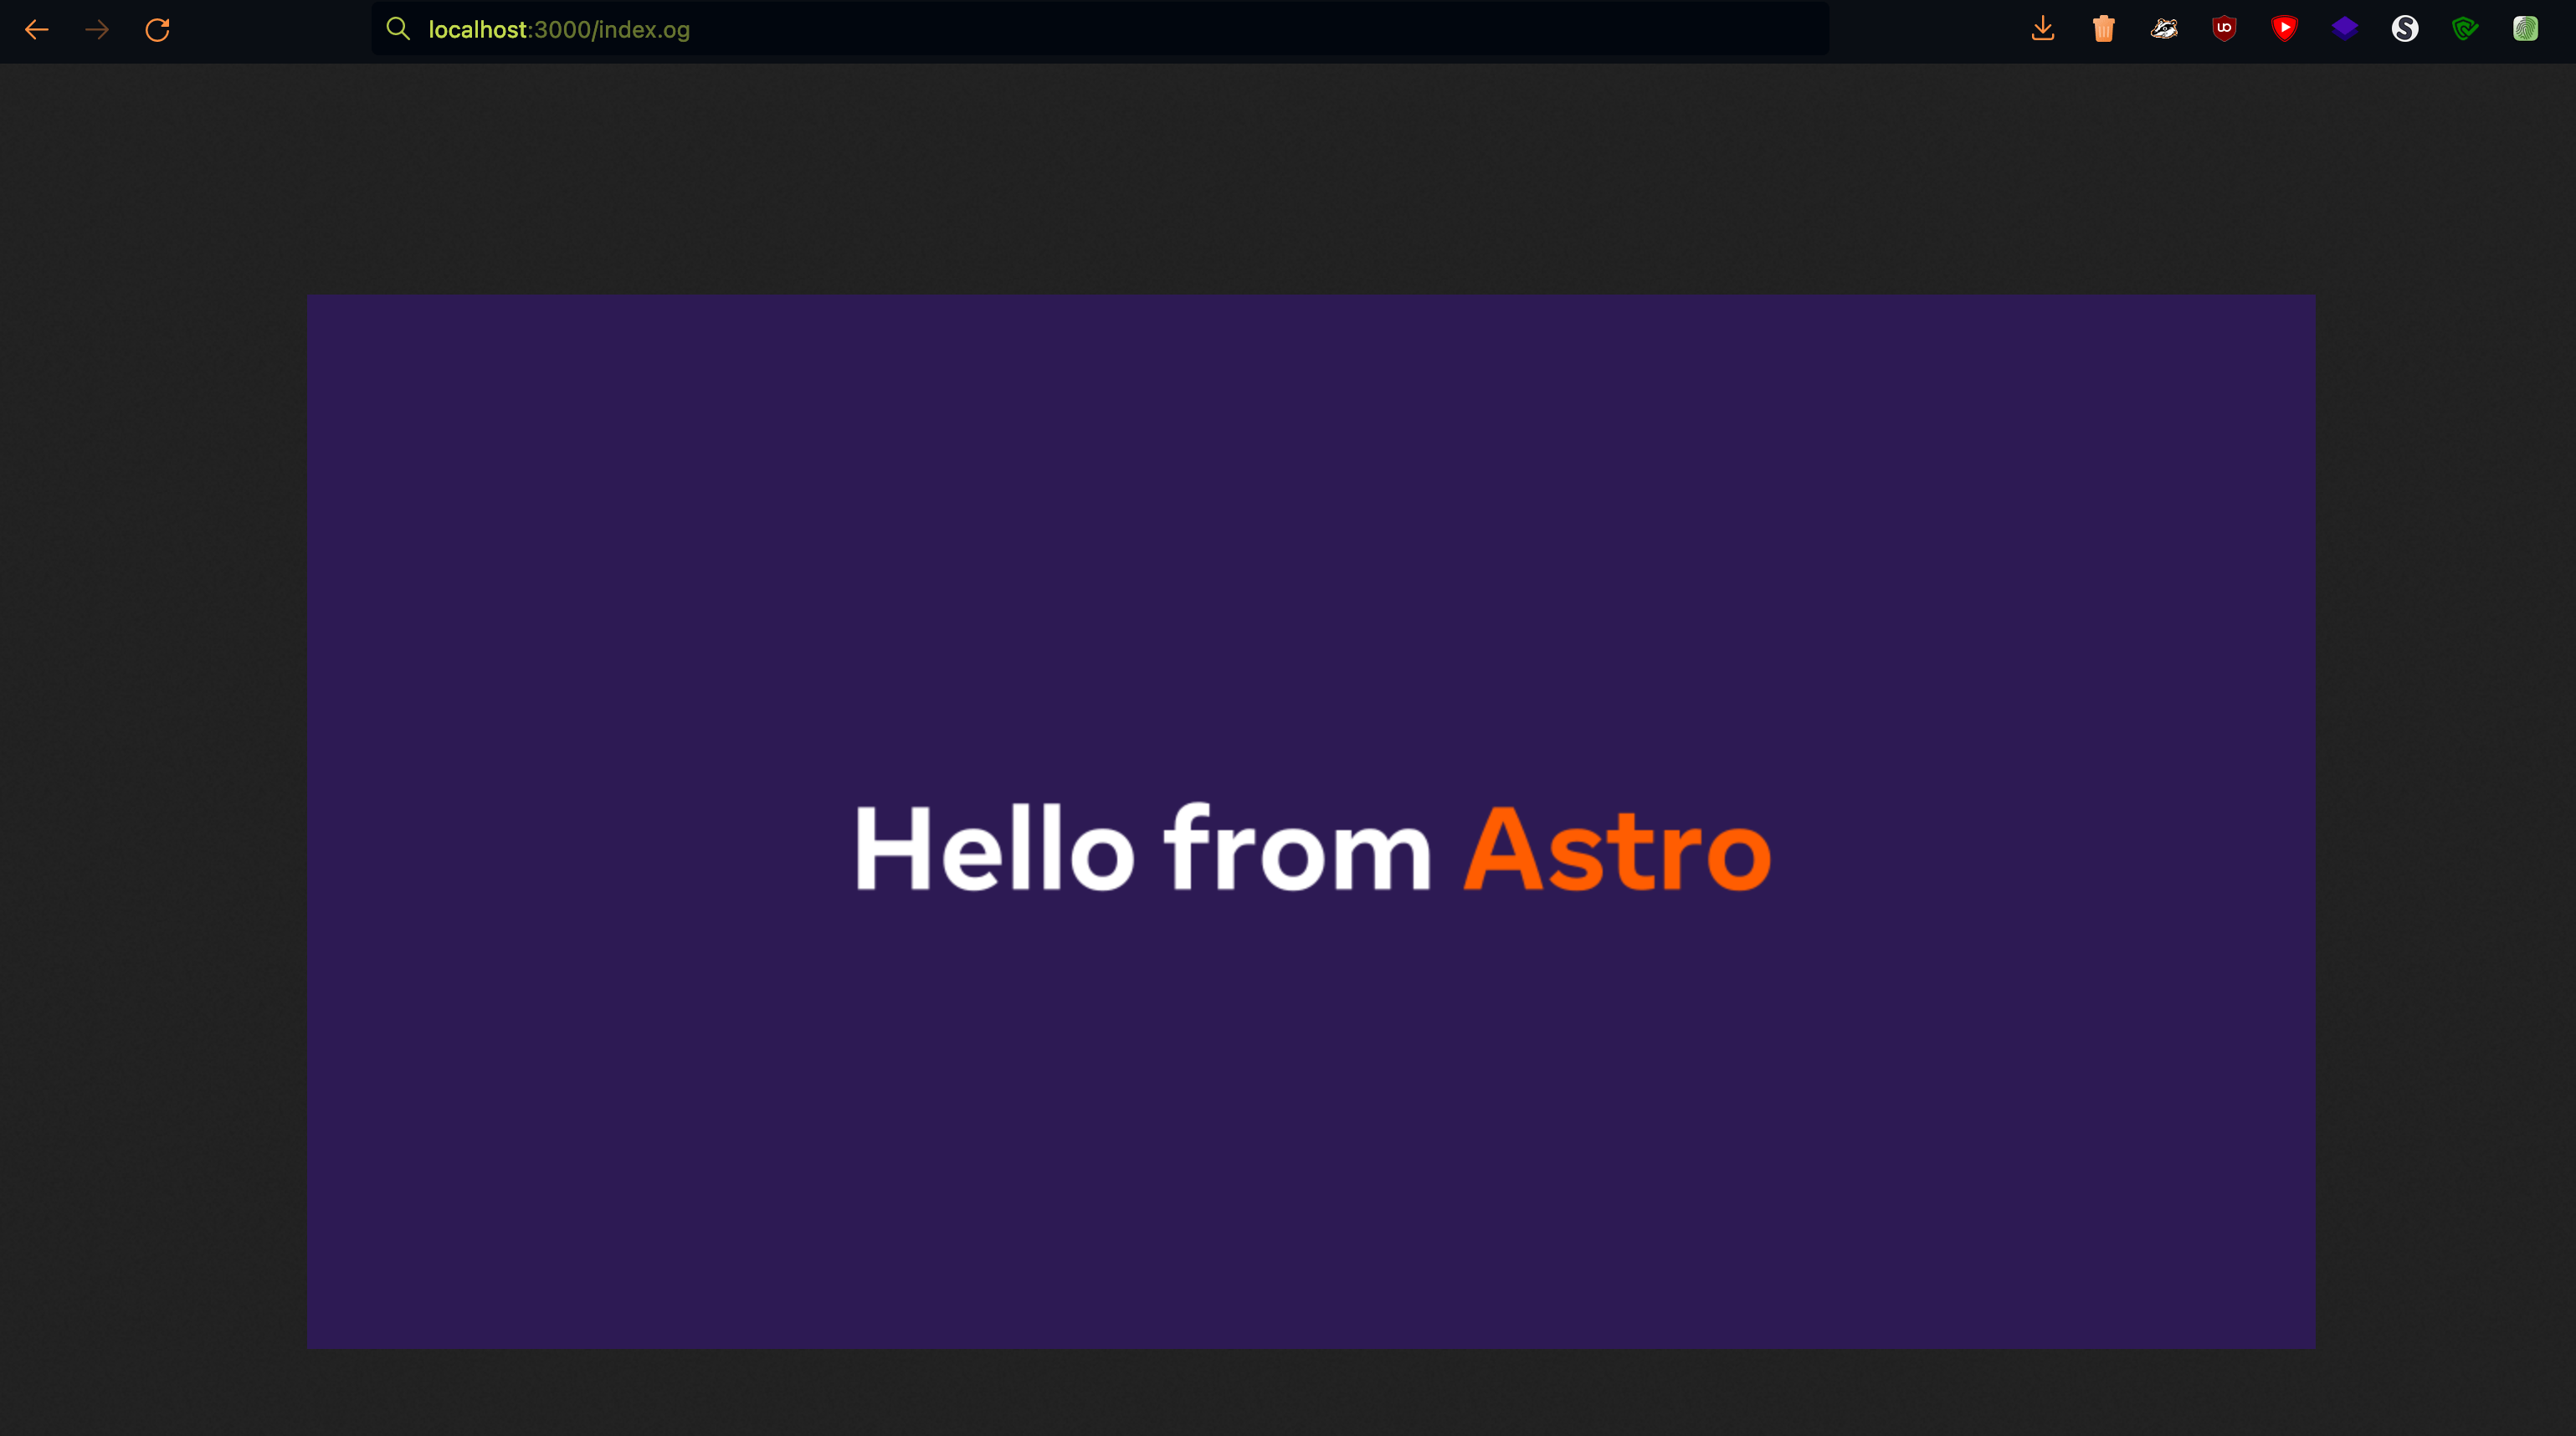
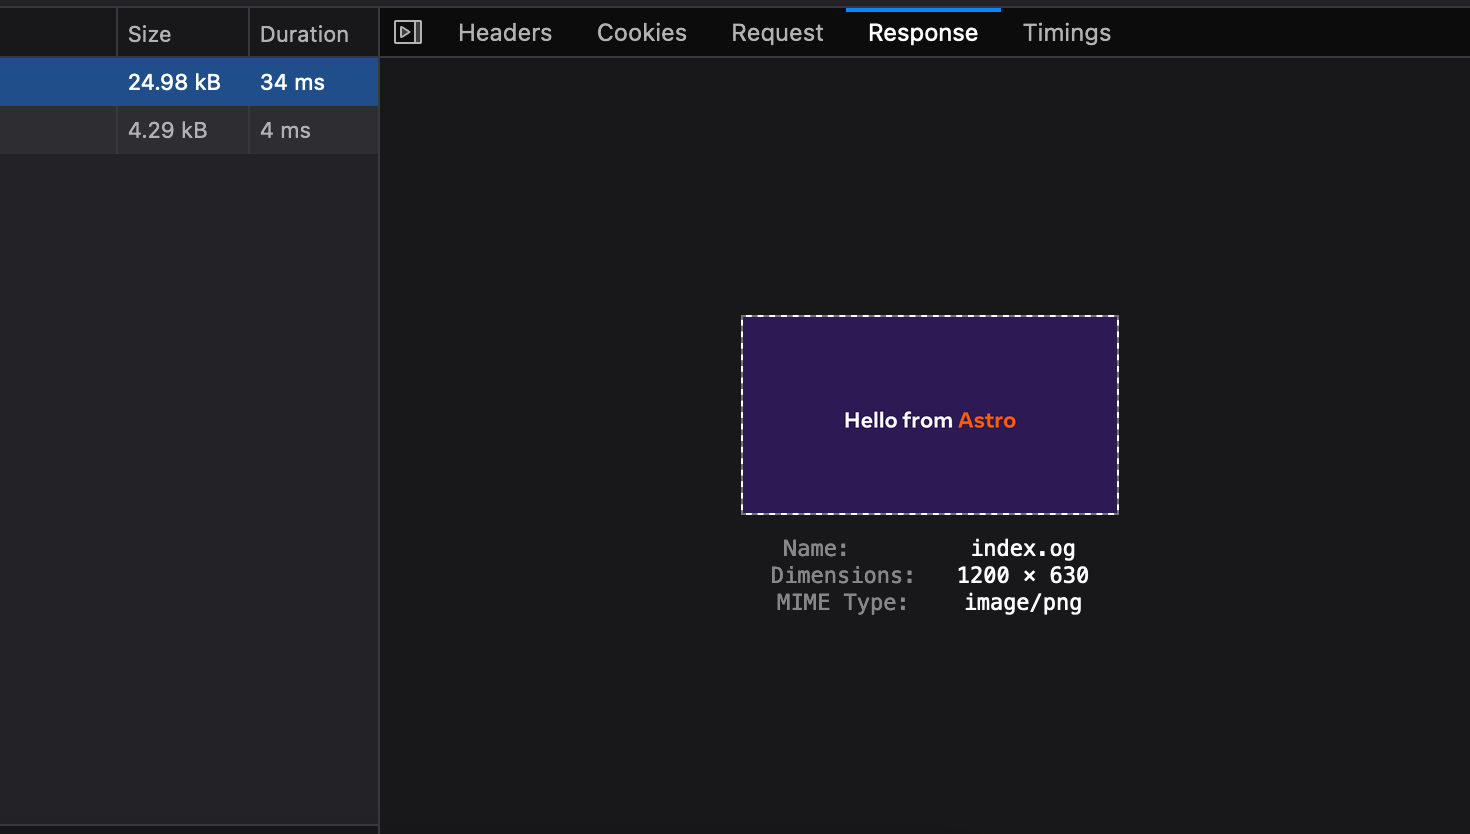
};If we check our /index.og route now, we get the response as a image
Deploy
Astro Server Endpoints work only in SSR mode. Let’s enable deployment in SSR
mode and add an adapter by modifying astro.config.mjs:
import { defineConfig } from "astro/config";

// https://astro.build/config
import vercel from "@astrojs/vercel/serverless";

// https://astro.build/config
export default defineConfig({
  output: "server",
  adapter: vercel({
    includeFiles: ["./public/fonts/Optimistic_Display_Bold.ttf"],
  }),
});
I’m using vercel ssr adapter here to deploy this project as a Vercel serverless function. You can check out more information about it here. Make sure you also install the adapter package
npm install @astrojs/vercelI’ll use Vercel CLI to deploy this project. It’s a single command to deploy the project and get a preview link. Run this in the root of the current project.
vercel
On visiting the preview link with /index.og path
(https://astro-vercel-og-rumaan.vercel.app/index.og) I get the same OG image as
before. Nice!
Update Meta Tags
Now let’s set this image link as our og:image in the site metadata. In my
index.astro file:
<html lang="en">
  <head>
    <meta charset="UTF-8" />
    <meta http-equiv="x-ua-compatible" content="ie=edge" />
    <meta
      name="viewport"
      content="width=device-width, initial-scale=1, shrink-to-fit=no"
    />
    <meta name="theme-color" content="#171C1A" />
    <meta name="color-scheme" content="dark" />

    <meta
      property="og:image"
      content="https://astro-vercel-og.vercel.app/index.og"
    />
    <meta property="og:image:width" content="1200" />
    <meta property="og:image:height" content="630" />

    <title>Vercel Astro</title>
  </head>
  <body>
    <h1>
      Vercel Astro OG: <a href="/index.og">Check here</a>
    </h1>
  </body>
</html>
This will help crawlers show the generated OG image while sharing links on their platform. We can debug this by using services like:
Generate Dynamic OG Images
Astro Server Endpoints give access to the
Request Object
which contains query and path params using which we can generate dynamic open
graph images. Let’s say we had a bunch of blog post articles (.md) and we want
to generate OG images containing the blog post title.
I’ve created two markdown files post1.md and post2.md under /pages/blog/
directory with a simple frontmatter containing a title and a reference to the
layout file.
---
title: "Hello World"
layout: "../../layouts/BlogLayout.astro"
---

Hello World content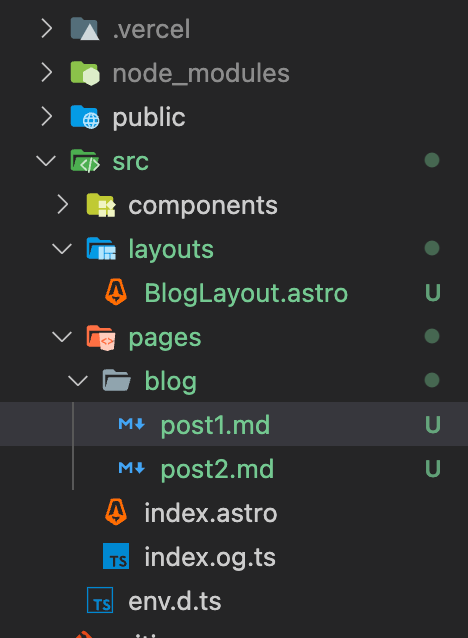
The layouts/BlogLayout.astro file:
---
const { frontmatter } = Astro.props;
---

<main>
  <h1>{frontmatter.title}</h1>
  <slot />
</main>
Now let’s create a server endpoint file (I’ll call it [slug].og.ts) which is
also a
Dynamic Route
with path param called slug which can be later referenced in our code. We’ll
create a similar GET route and access the slug path param from the Request
object.
[slug].og.ts file:
export async function GET({ params }: APIContext) {
  const { slug } = params;
};
Using the slug we’ll find the corresponding Blog post markdown file and access
it’s frontmatter that contains the title and use that in our html template for
generating og image. I’ll use
import.meta.glob
from Vite to get all the markdown files in a directory, find the markdown file
matching slug, load that markdown file and get the post title.
// other imports...
import { readFileSync } from "fs";
import { basename } from "path";
import type { APIContext, MarkdownInstance } from "astro";

export async function GET({ params }: APIContext) {
  const { slug } = params;
  // Find the slug in content dir
  const posts: Record<string, () => Promise<any>> = import.meta.glob(
    `./**/*.md`
  );

  const postPaths = Object.entries(posts).map(([path, promise]) => ({
    slug: basename(path).replace(".md", ""),
    loadPost: promise,
  }));

  const post = postPaths.find((p) => p.slug === String(slug));
  let postTitle = `My Blog`; // Default title if post not found
  if (post) {
    const postData = (await post.loadPost()) as MarkdownInstance<
      Record<string, any>
    >;
    postTitle = postData.frontmatter.title;
  }
  // ...
};
Now that we have the post title, let’s inject it into our html markup
import satori from "satori";
import { html } from "satori-html";
import { readFileSync } from "fs";
import type { APIContext, MarkdownInstance } from "astro";
import sharp from "sharp";
import { basename } from "path";
export async function GET({ params }: APIContext) {
const { slug } = params;
// Find the slug in content dir
const posts: Record<string, () => Promise<any>> = import.meta.glob(
`./**/*.md`
);
const postPaths = Object.entries(posts).map(([path, promise]) => ({
slug: basename(path).replace(".md", ""),
loadPost: promise,
}));
const post = postPaths.find((p) => p.slug === String(slug));
let postTitle = `My Blog`; // Default title if post not found
if (post) {
const postData = (await post.loadPost()) as MarkdownInstance<
Record<string, any>
>;
postTitle = postData.frontmatter.title;
}
const fontFilePath = `${process.cwd()}/public/fonts/Optimistic_Display_Bold.ttf`;
const fontFile = readFileSync(fontFilePath);
const markup = html(`
<div
style="height: 100%; width: 100%; display: flex; flex-direction: column; align-items: center; justify-content: center; background-color: rgb(45,26,84); font-size: 32px; font-weight: 600;"
>
<div
style="font-size: 70px; margin-top: 38px; display: flex; flex-direction: column; color: white;"
>
${postTitle}
</div>
</div>`);
const svg = await satori(markup, {
width: 1200,
height: 630,
fonts: [
{
name: "Optimistic Display",
data: fontFile,
style: "normal",
},
],
});
const png = sharp(Buffer.from(svg)).png();
const response = await png.toBuffer();
return new Response(response, {
status: 200,
headers: {
"Content-Type": "image/png",
},
});
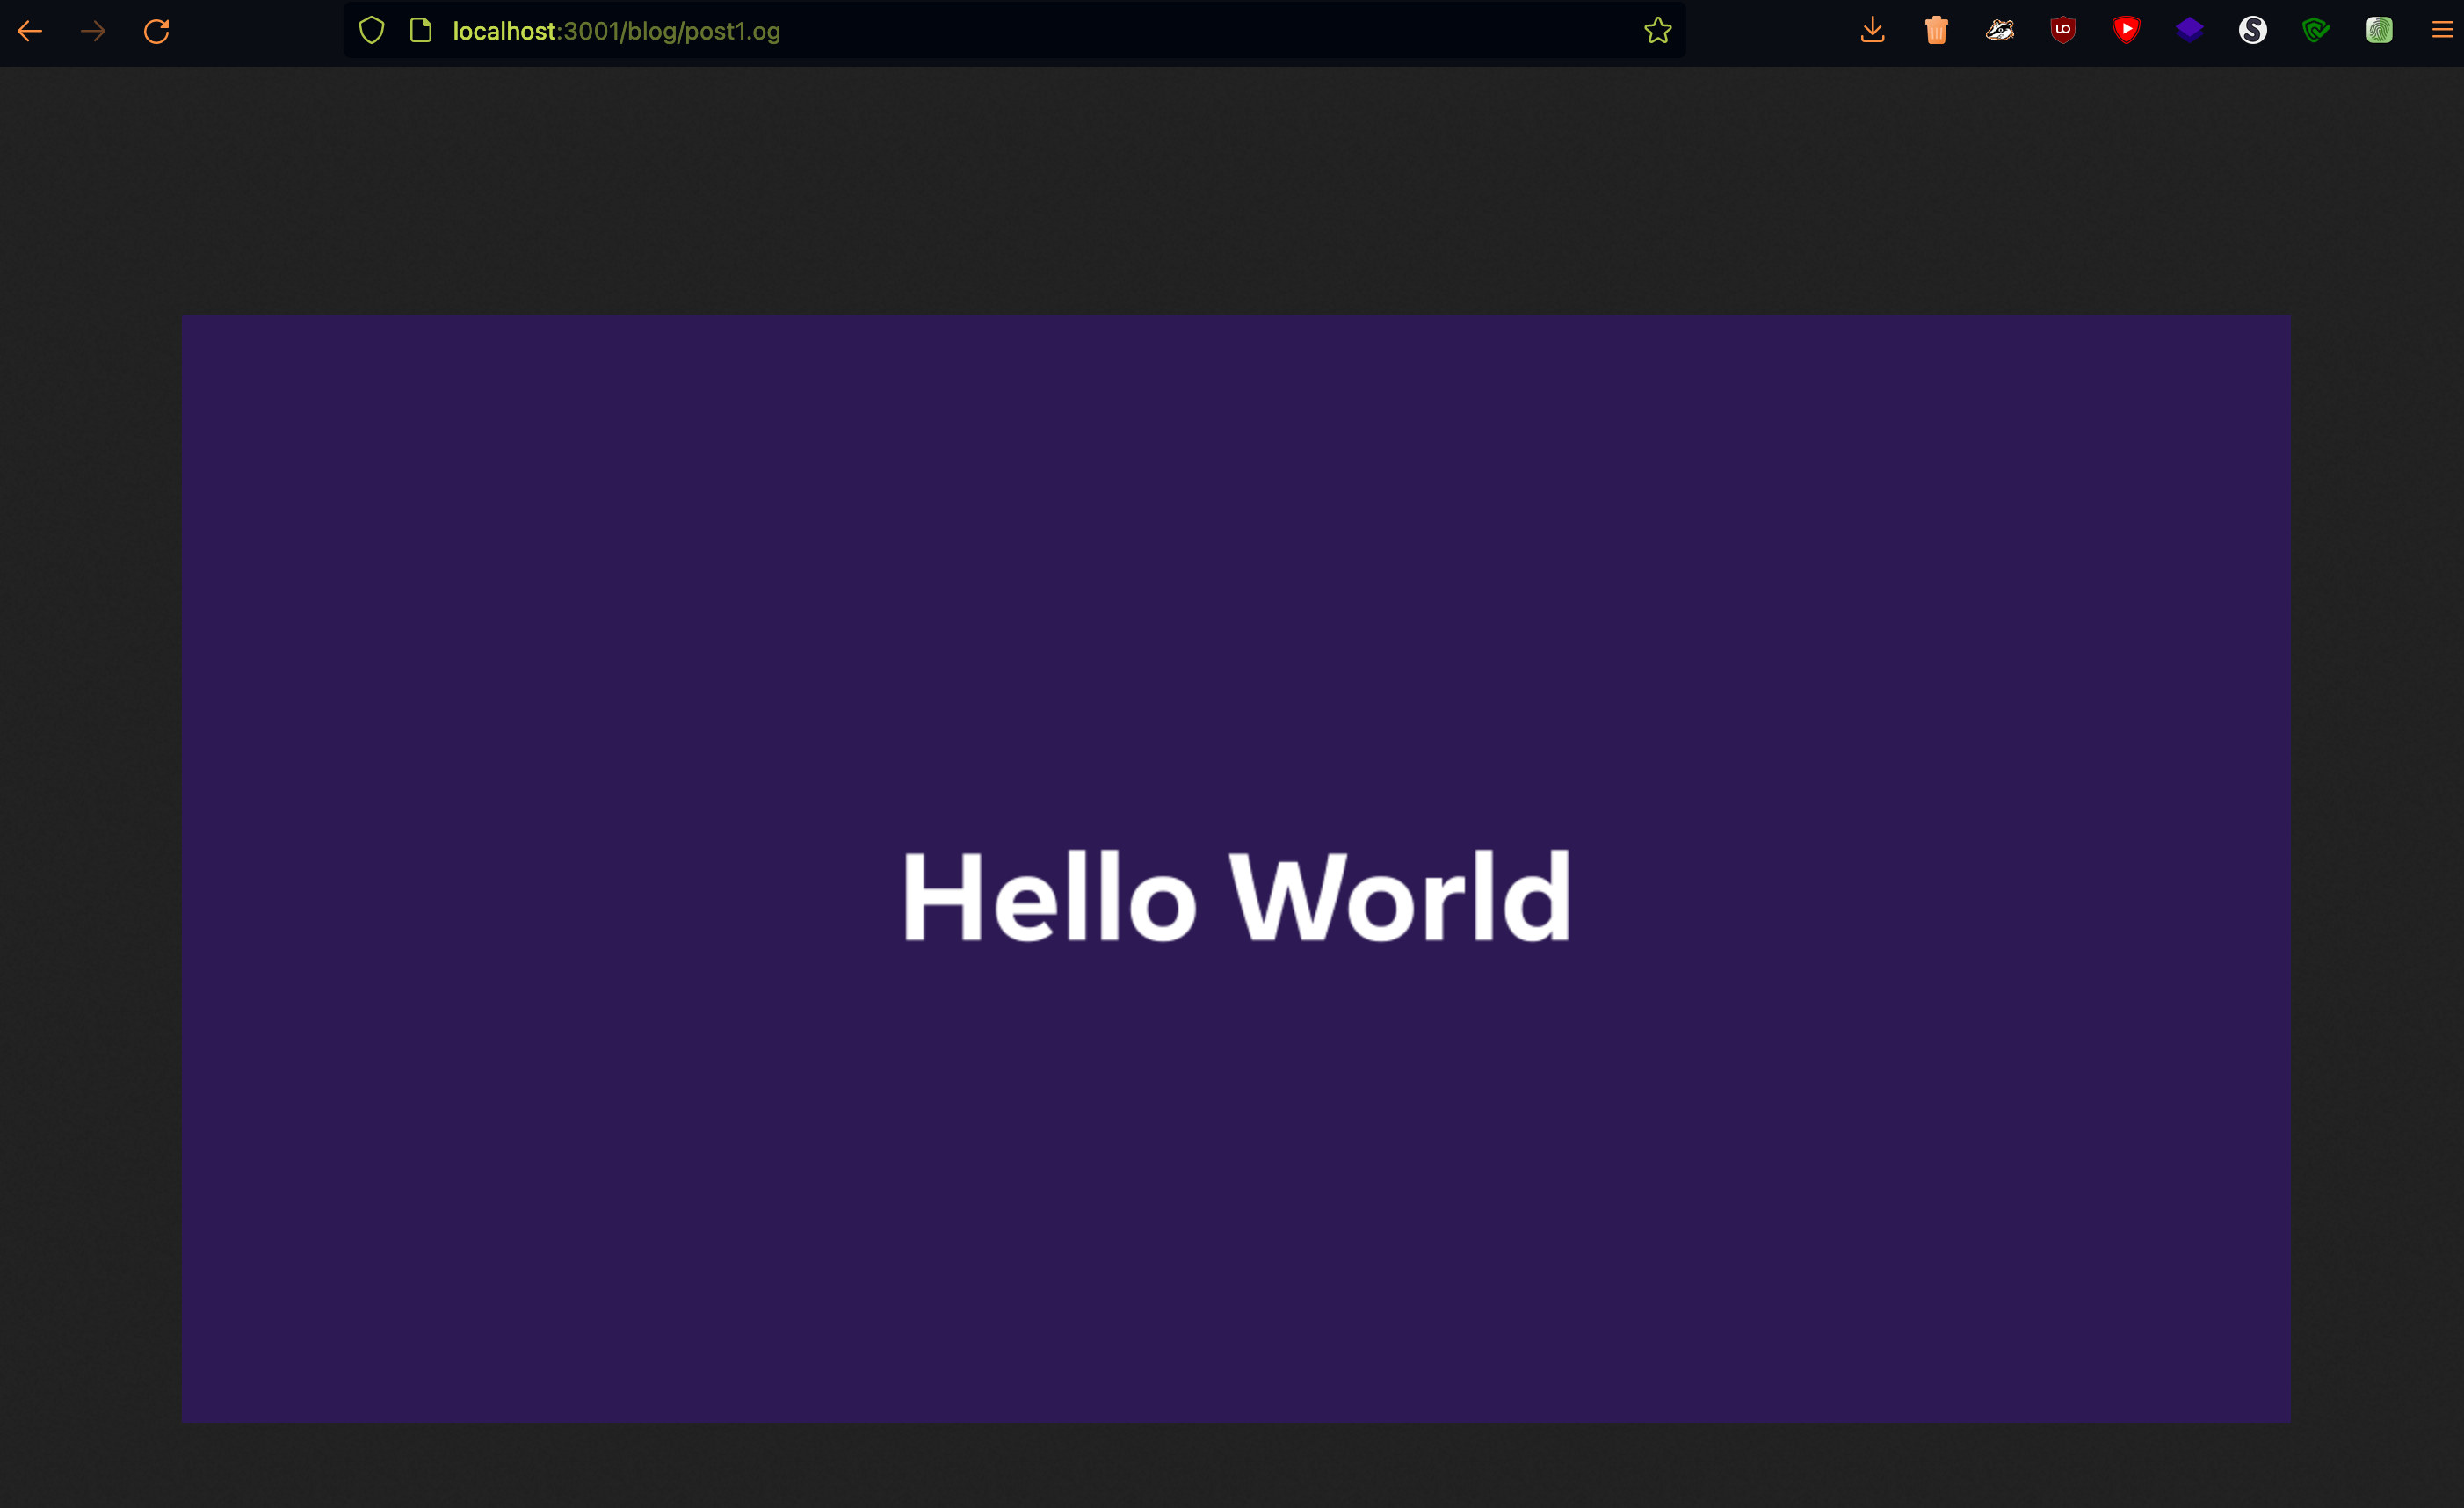
};If we visit /blog/[slug].og path we should get an image with the corresponding
blog post title in it. Let’s try /blog/post1.og:
Update: Astro 2.0 Content Collections
Content Collections API in Astro 2.0 simplifies a lot of code required to query and access the Markdown/MDX file contents in a Type-safe way.
Assuming we have a content collections for posts set up like so:

With Collection src/content/config.ts file as:
import { defineCollection, z } from "astro:content";

const postsCollection = defineCollection({
  schema: z.object({
    title: z.string(),
    description: z.string(),
    // ...
  }),
});

export const collections = {
  post: postsCollection,
};
Now using Content Collection Query function
getEntryBySlug
we can query the post by slug in just one line and render our OG image with the
required data from the post.
pages/post/[slug].og.ts:
import type { APIContext } from "astro";
import { getEntryBySlug } from "astro:content";
import { readFileSync } from "node:fs";
import { html } from "satori-html";
import satori from "satori";
import sharp from "sharp";

export async function GET({ params }: APIContext) {
  const { slug } = params;
  /// One line to get the post from our collection using slug
  const post = await getEntryBySlug("post", slug!!);
  const title = post?.data.title ?? "My Post";

  const fontFilePath = `${process.cwd()}/public/fonts/Optimistic_Display_Bold.ttf`;
  const fontFile = readFileSync(fontFilePath);

  const markup = html(`<div
    style="height: 100%; width: 100%; display: flex; flex-direction: column; align-items: center; justify-content: center; background-color: rgb(45,26,84); font-size: 32px; font-weight: 600;"
  >
    <div
      style="font-size: 70px; margin-top: 38px; display: flex; flex-direction: column; color: white;"
    >
      ${title}
    </div>
  </div>`);
  const svg = await satori(markup, {
    width: 1200,
    height: 630,
    fonts: [
      {
        name: "Optimistic Display",
        data: fontFile,
        style: "normal",
      },
    ],
  });
  const png = sharp(Buffer.from(svg)).png();
  const response = await png.toBuffer();

  return new Response(response, {
    status: 200,
    headers: {
      "Content-Type": "image/png",
      "Cache-Control": "s-maxage=1, stale-while-revalidate=59",
    },
  });
};
There you go! On visiting /post/hello.og we should see the same OG Image as
before.
In our GET route we can also fetch external API based on the current Request
params and we can use that data in our html markup template.
I’ve made this into a simple github repo if you want to check out the full source: https://github.com/rumaan/astro-vercel-og
Further Reading / References: